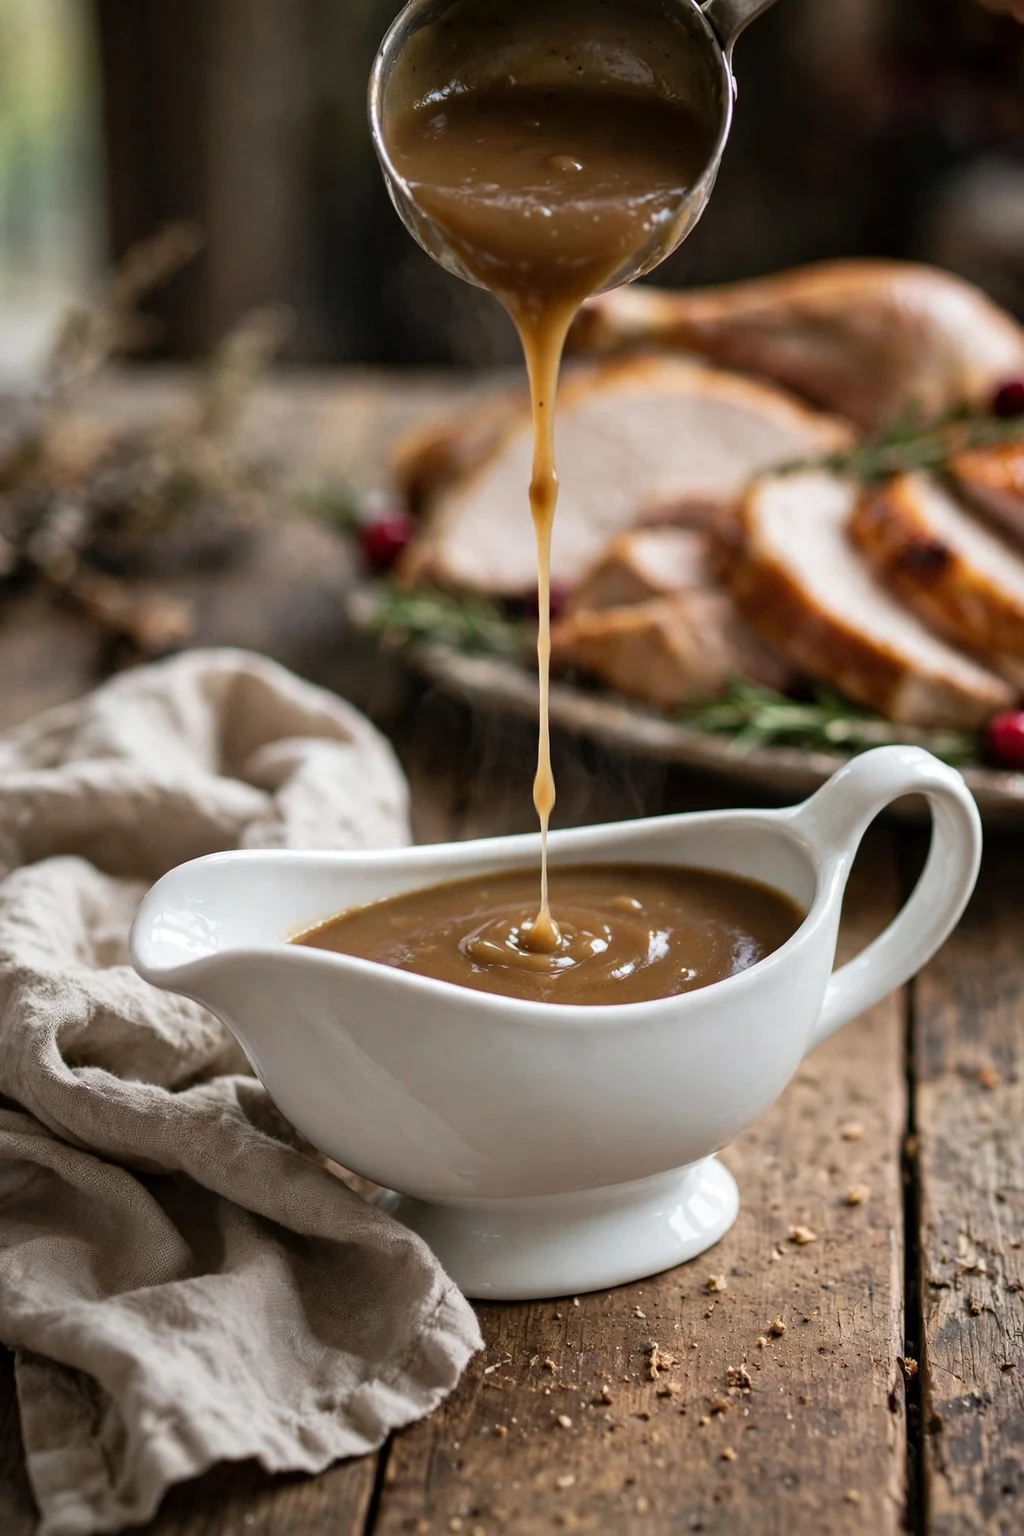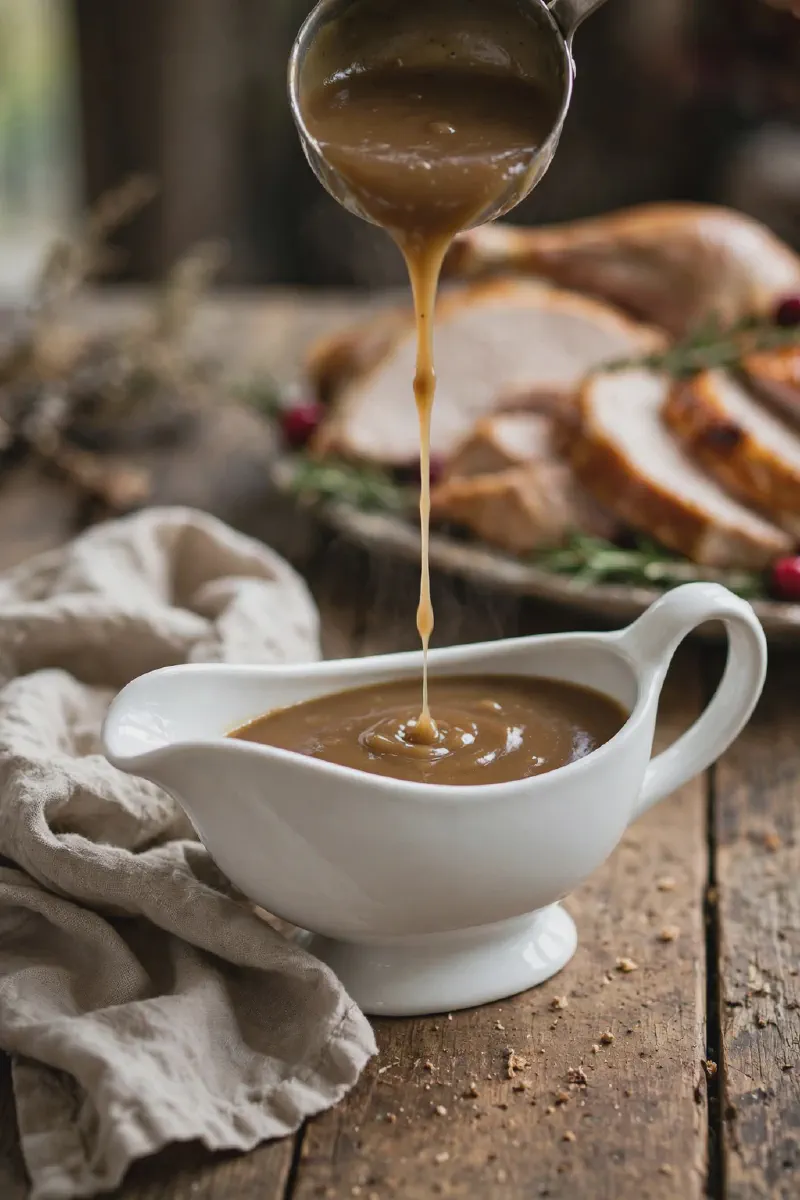
Turkey gravy is the last job on Thanksgiving, and it happens in the pan the bird just left. Once the turkey comes out to rest, the clock is friendly: the drippings are already made, and the gravy itself is about 10 minutes at the stove, most of it whisking. Everything in this recipe runs on one ratio, and once you know it, you can make gravy for four people or forty without looking anything up.
The ratio is 2 tablespoons of fat and 2 tablespoons of flour for every cup of liquid. This batch uses 1/4 cup of each with 2 cups of liquid, which lands at about 2 cups of finished gravy, eight servings at 1/4 cup each. The fat comes off the top of the drippings, the liquid is the defatted pan juices topped up with turkey stock, and the flour is plain all-purpose. That is the whole ingredient list, apart from salt and pepper at the end.
Start with the drippings
Pour the drippings through a strainer into a fat separator or a glass measuring cup, then put the roasting pan back over medium heat with a splash of stock in it and scrape up the browned bits stuck to the bottom. Those bits are concentrated roasted flavour, and they belong in the gravy, not in the dishwater. Pour the deglazing liquid in with the strained drippings.
Give the drippings a few minutes to stand and the fat will rise to the top in a clean layer. Spoon off 1/4 cup of it. Birds vary, and a lean one might not give you the full measure, so top it up with melted butter without worrying about it. What is left in the cup is the pan juice. Pour it into a measuring cup and add turkey stock up to the 2 cup line.
Warm that liquid before it meets the roux. Hot liquid going into a hot roux, added gradually and whisked the whole time, is the entire secret to gravy with no lumps. Cold liquid dumped in all at once is how lumps happen.
The roux, and why it gets a minute of your attention
Heat the fat in a medium saucepan over medium heat, whisk in the flour, and cook the paste for 1 to 2 minutes, whisking constantly, until it smells nutty and turns pale gold. That short cook does two things. It takes the raw, pasty taste out of the flour, and it sets the colour of the finished gravy. A blond roux like this one keeps most of its thickening power. You can push a roux darker for a deeper toasted flavour, but the darker it goes, the less it thickens, so for turkey gravy pale gold is the stopping point. The same fat, flour, and liquid logic, stretched over a long slow cook, is what builds the sauce in my crockpot beef and gravy stew.
Now pour in the hot liquid a little at a time, whisking constantly. The first additions will seize up into a thick paste. Keep going. As the rest of the liquid goes in, the paste loosens into a smooth, pourable sauce. Bring it to a boil, because a flour-thickened sauce only reaches its full thickness at the boil, then drop the heat and simmer about 5 minutes. It is done when it coats the back of a spoon and holds a clean line when you run a finger through it.
Season last. The drippings carried the turkey’s seasoning in with them, so the gravy may need less salt than you expect. Taste it at the end, then add salt and pepper.
No drippings? Butter and stock do the job
Plenty of people searching for turkey gravy have no roasted bird yet. They are cooking ahead, or the turkey is happening at somebody else’s house and gravy is their contribution. This version is for them, and it uses the same ratio and the same method: melt 1/4 cup of butter in place of the turkey fat, whisk in the flour, and use 2 full cups of turkey or chicken stock as the liquid.
Without pan juices and deglazed bits, the flavour rides on the stock, so use the best you have, and reach for low sodium if it is store bought so the final seasoning stays in your hands. Letting the butter roux go one shade darker, to a light gold, buys back some of the toasted flavour the drippings would have brought. This is also the version to make ahead of the day: it keeps 3 to 4 days in the fridge, and reheating it to a rolling boil, whisking as it comes up, brings it back to full body.
When gravy goes wrong
- Lumpy. Pour the finished gravy through a fine mesh strainer, or give it a few seconds with an immersion blender. Then note the fix for next time: warm liquid, added gradually, whisk moving.
- Too thin. It probably never quite boiled. Put it back on the heat, bring it to a full boil, and give it another minute or two of simmering. If it is still loose, whisk 1 tablespoon of cornstarch with 1 tablespoon of cold water and stir the slurry in at the boil.
- Too thick. Gravy thickens as it sits, and a batch that was perfect at the stove can set up on the table. Whisk in warm stock a splash at a time until it pours the way you want.
- Greasy. The fat separation got rushed. Skim the surface with a spoon, or blot it with a folded paper towel laid briefly on top.
- Bland. Add salt before you add anything else. Undersalted gravy reads as flat no matter what else is in it, and most batches that taste like nothing are one good pinch away from tasting like turkey.
Getting it to the table
Pour it into a warmed gravy boat if you have one; a cold boat steals heat fast. It belongs next to the turkey however the bird was cooked, roasted like the apple cider glazed turkey breast or as an air fryer turkey breast. On the plate, this is the gravy that goes over the slow cooker sausage, apple and sage stuffing, and it is worth keeping a plate of cheddar bay biscuits within reach for whatever the ladle misses. Leftover gravy goes into the fridge within 2 hours, in a container with a lid, and keeps 3 to 4 days. Reheat it to a rolling boil and whisk it smooth before it goes back on the table.
The rest of the bird has its own plan: leftover turkey soup.