The Story
The short answer
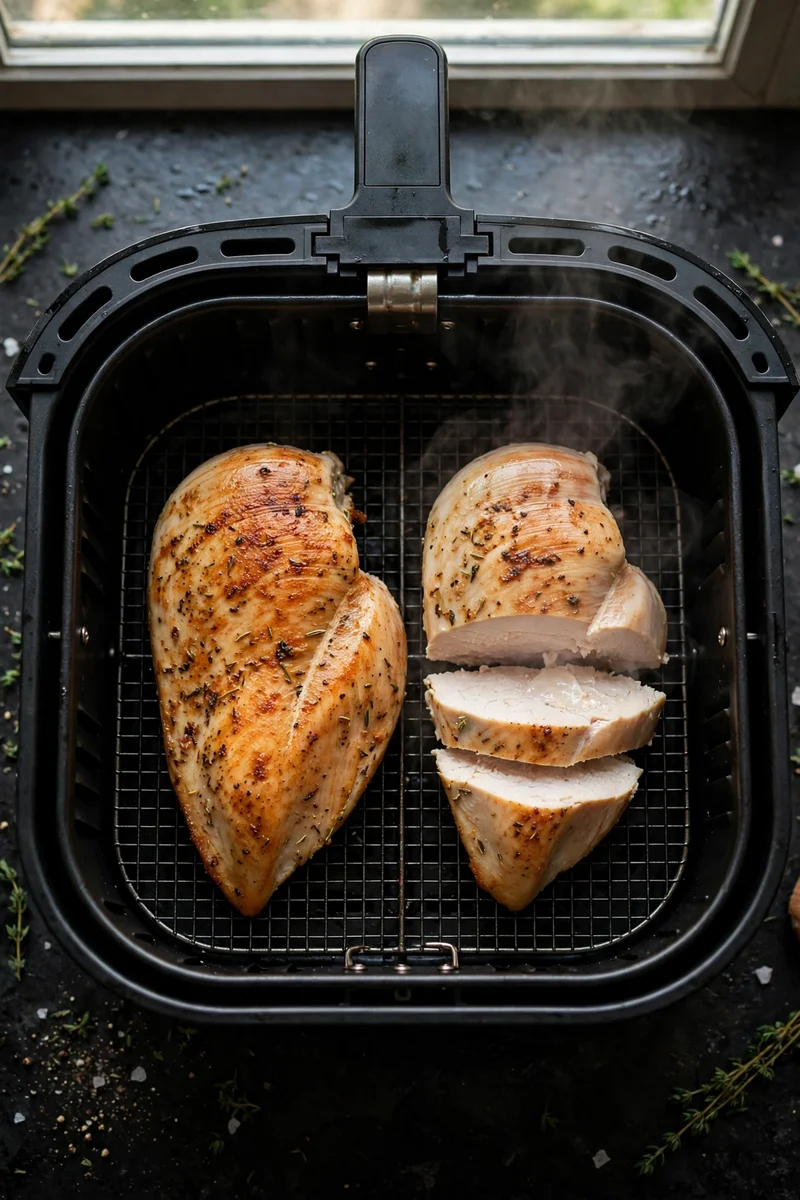
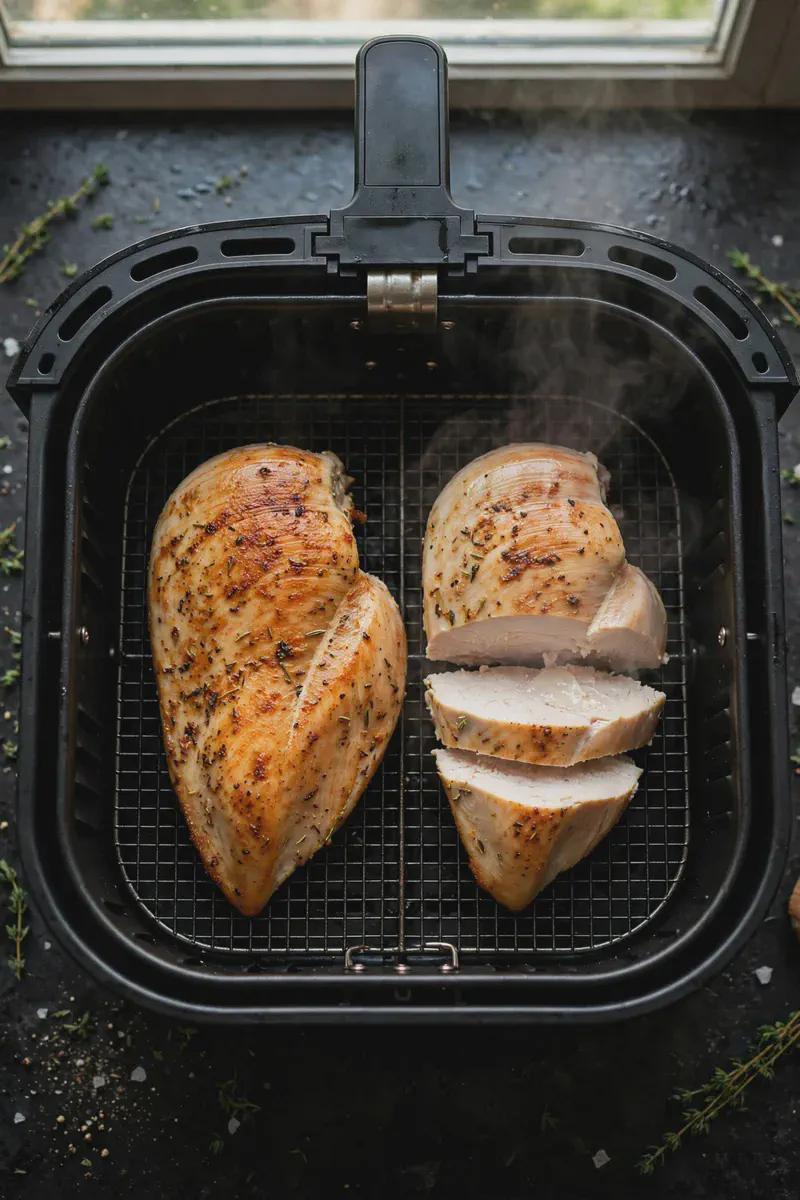
Yes. Pat boneless and skinless breasts dry, rub them with a little oil and seasoning, and cook them in one layer at 375°F (191°C). A pounded breast about 1/2 inch thick needs 9 to 11 minutes. A breast about 3/4 inch thick needs 12 to 15 minutes. A breast about 1 inch thick needs 15 to 19 minutes. A thick breast left unpounded, near 1 1/2 inches at its tallest point, needs 20 to 24 minutes. Turn each breast once partway through. The meat is done when the thickest part reads 165°F (74°C).
Chicken breast is lean meat with very little fat running through it, and that leanness shapes the whole cook. Fat forgives. A cut with more of it, like the meat covered in the guide to chicken thighs in an air fryer, can sit in the heat a few minutes past done and still eat well. Breast meat has no such cushion. A few degrees past the finish and the texture turns firm and dry, and there is no sauce already in the pan to rescue it.
The other problem is shape. A breast is thick and rounded at one end and thin and tapered at the other, so the two ends cook at different speeds in the same basket. Most of what follows is about managing those two facts, the narrow finish window and the uneven shape, rather than about the machine itself.
The thick end sets the clock
Weight alone is a poor guide here. Two breasts can weigh the same and still cook at different speeds, because one spreads its weight across a wide and even shape while the other piles it into one tall mound. Heat has to travel to the centre of the thickest point, and the distance it travels is what sets the minutes.
| Breast in the basket | Heat | Time |
|---|---|---|
| Pounded flat, about 1/2 inch thick | 375°F (191°C) | 9 to 11 minutes |
| About 3/4 inch at the thickest point | 375°F (191°C) | 12 to 15 minutes |
| About 1 inch at the thickest point | 375°F (191°C) | 15 to 19 minutes |
| About 1 1/2 inches at the thickest point, left unpounded | 375°F (191°C) | 20 to 24 minutes |
Treat these times as estimates and start checking a couple of minutes before the early end of your row. Machines run hotter or cooler than the setting suggests, a breast that goes in cold from the fridge takes the upper end of its range, and a crowded basket slows everything down. Turn each breast once at the halfway mark so the side that sat against the basket floor gets its turn in the moving air and colours as well.
Flatten the shape before the seasoning goes on
Pounding is the single step that improves this cook the most, because it removes the shape problem before the heat ever starts. Lay the breast inside a large plastic bag or between two sheets of plastic wrap. Using the flat side of a meat mallet, a rolling pin, or the bottom of a heavy pan, strike the thick end with firm and even blows, working outward until the whole piece sits near an even 3/4 inch. Gentle and steady beats hard. Blows that land too hard can tear the meat instead of spreading it.
An even piece finishes evenly. The thin end no longer has to wait around in the heat while the thick end catches up, and seasoning covers a flat surface in a way it never quite does on a rounded one. Thin and even pieces like these are also the starting point for air fryer chicken tenders, where the same even thickness is what lets a coating crisp before the meat inside overcooks.
A very thick breast can skip the mallet instead. Set it on a board and cut it horizontally into two thinner pieces, keeping the knife level and your free hand flat on top of the meat, clear of the blade. Two pieces near 3/4 inch each cook faster and more evenly than one piece near 1 1/2 inches. Whichever route you take, wash your hands, the board, and the knife with hot and soapy water once the raw chicken is seasoned and in the basket, and keep raw chicken and its juices away from anything already cooked.
A dry surface and a light coat of oil
Breast meat goes into the basket wet from its packaging, and that surface water has to cook off before the outside can take on any colour. In a cook this short, minutes spent steaming are minutes the meat spends in the heat without browning. Pat each breast dry on all sides with paper towel before anything else touches it.
Rub the dry meat with a small amount of oil, about 1 teaspoon per breast, then add salt and your dry seasoning. The oil helps the seasoning cling and slows the surface from drying while the centre comes up to temperature. Salt can go on right before cooking, or up to a day ahead if the seasoned breasts sit uncovered in the fridge, where the salt first draws moisture out and the meat then takes it back in, leaving a surface that browns well. Sweet rubs and glazes need care at this heat. Sugar darkens fast in a basket, so brush a sweet sauce on during the final few minutes rather than at the start, when it can scorch before the centre is done.
Cook the breasts in one layer with a small gap around each piece. Pieces that touch steam against each other and stay pale on the touching sides, and an overloaded basket holds moisture in instead of letting it escape. If the batch does not fit with space to spare, cook it in two rounds. The second round runs in a machine that is already hot, so start checking it a minute or two earlier than the first.
Pull it at the reading, then let it sit
Colour will not tell you when a breast is done, and neither will pressing on it or watching the juices. Use a thermometer. Push the tip into the centre of the thickest part, coming in from the side, and hold it clear of the basket floor. When that spot reads 165°F (74°C), the breast is done. Pull it then. As the internal temperature climbs past that point, the muscle fibres tighten and squeeze water out of the meat, which is why a breast pulled five or ten degrees late eats dry even when everything else was done right.
Move the cooked breasts to a plate with tongs, working over a stable surface with a mitt on the hand that steadies the basket, and let them rest for about 5 minutes before slicing. A breast cut the moment it leaves the basket spills its juices across the board. A rested one keeps noticeably more of them in the meat. When you do slice, cut across the grain, across the short fibres that run the length of the breast, so each slice bites tender instead of stringy.
Frozen breasts need patience at the start
A solid frozen breast can cook in the basket, and the general approach in the guide to frozen chicken in an air fryer applies here too. Lower the heat to 360°F (182°C) so the outside does not race ahead of the frozen centre, and allow 18 to 26 minutes depending on thickness, turning the breast once partway through.
Seasoning will not stick to an icy surface, so leave it off at first. After about 8 minutes the surface will have thawed enough to hold it. Pull the basket, pat the surface dry, add oil and seasoning, and return the breast to finish. Breasts that froze together in one block need separating once they soften, partway through the cook, so each piece cooks on its own instead of as one thick mass with a cold centre. However the breast started, fresh or frozen, the finish is decided the same way, with a thermometer reading of 165°F (74°C) in the thickest part.
Get the shape even, start checking early, and respect the rest at the end. Do those three things and the basket turns out chicken breast that is cooked through, still juicy, and browned enough to be worth eating on its own.